Suzuki Escudo: Swaybar Removal

Going along with the recommendations of the expert, I have been recommended to remove the sway bar/stabiliser arm on my Suzuki Escudo/Geo Tracker/Sidekick.

The reasoning behind this it to give your Escudo more articulation offroad. I am currently running the v6/4 door model springs front and rear which are a bit stiffer than the standard 3 door. May I say the combo matches perfectly! The suspension used to ride pretty hard on and offroad, the the 4 door springs complement the sway bar removal perfectly which now makes for a softer ride.

This is a fairly straight forward process – simple – 6 bolts simple!

So, let’s begin:

  1. Jack her up! Dont forget the axle stands!
  2. Undo the two bolts – holding the sway bar up – no 14 metric.
  3. Remove the two nuts and two bolts connected to the bracket holding the sway bar in place, note the No 17 nut had already been removed:
  4. The swaybar will easily come out now. Put the nut and bold back where they belong. Your end result will look like this on both right and left:

So far I have only had the chance to run one quick test which has been brilliant. You now have grip that you didnt otherwise have.
Galaxy 551

You have just purchased the samsung i 5510 – the standard Android version is comes with is 2.2.

The firmware upgrade will be one of your first goals.

Note that searching google will show a lot of options as far as the flashing goes, all with the same issues; the keypad on the unit has buttons that do not correspond with the physical keys.

There were two variants of problems I discovered. First, the “A” and “Y” keys were reversed between themselves, second was the question mark key being mixed with a Armenian A (small 0 on top).

That said, after trialing with about 6-7 different Android releases I have found a Polish version that works.

Lets begin with the flashing:

  1. Download your firmware from here.
  2. Download your flashing program (Odin Multi Downloader) from here.
  3. Copy and paste the following into a text file, then rename to CALLISTO_v1.0.ops :
    0,mibib
    1,qcsbl
    2,oemsbl
    3,amss
    4,arm11boot
    5,boot
    6,recovery
    7,system
    8,data
    9,csc
    10,
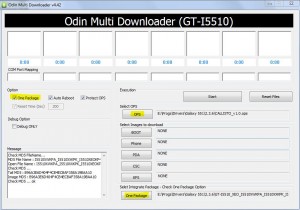
  4. Prep your Odin. You will need to point it to your new OPS file (CALLISTO_c1.0.ops), tick the “One package” and lastly to point it to your downloaded firmware (from step 1). The end result will look as such:
  5. Next, your phone will need to be put into download mode. This can be done by switching it off then holding down the power button + Q key.
    If sussessful Odin will recognize the com port mapping and mark with yellow highlighting:
  6. You are now ready to begin, press “Start”
  7. Upon completion, the phone will reboot itself. Now we need stock factory condition *remember to do your backup first!*. The way we bring it to factory condition is to start it in recovery mode by using the same procedure as with download more except this time we hold down Power + T. You will “wipe data/factory restore” and “Wipe Cache Partition” with a combination of the ALT and Middle Enter Button. Once complete reboot the phone.

Voila, you now have a samsung i 5510 running Gingerbread 2.3.6.

Other things you may want to know about this phone is that is has recently been taken off the shelves by Samsung so we should not expect further updates; at least not from them.

I have also found the battery to last about 2-3 days depending on use; which is great. You will also find all the new garnish to be to your liking.

This was tried and tested with the 2DegreesMobile carrier in New Zealand and the samsung i 5510 / 551 mobile.

pptp vpn

So you’re out and about and require connectivity back home or SOHO. Here is your pptp vpn solution, for free

An elegant solution has been around for the DDWRT, the distro specialising on your Linksys 54GL routers. I initially found this to not be so well documented.

This will essentially turn your 54gl box into a pptp vpn gateway in 5 steps. These boxes are smart in the sense that you can bind multiple to a client-server level but for the time being we’ll look at giving you access from an internet bound PC or your smart phone. I will put further information up showing you how to go about setting up your computer, smartphone, or tablet.

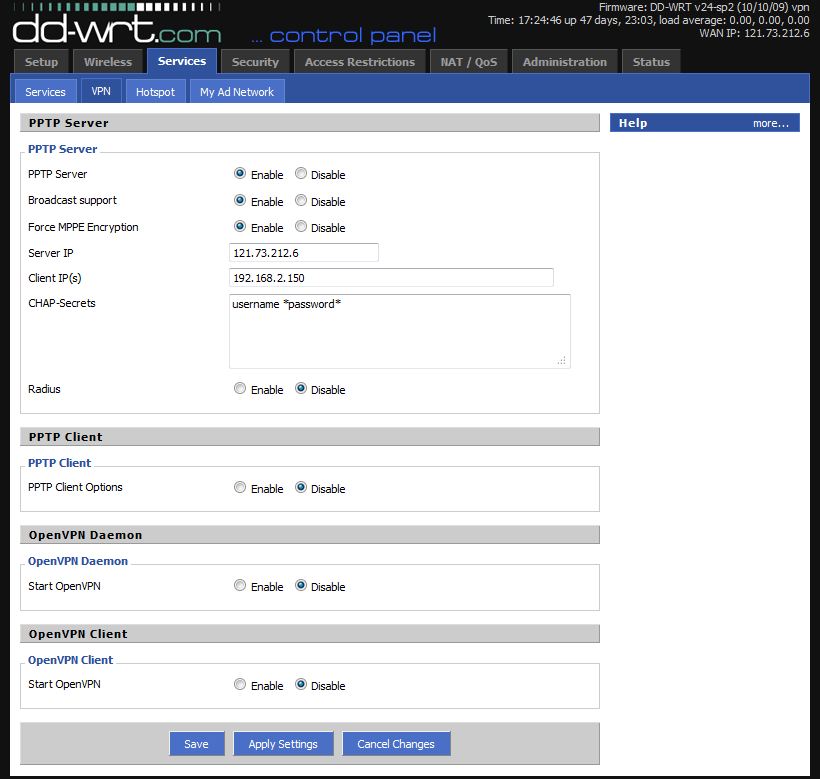
For the time being, what we are interested in enabling is the PPTP VPN Server.

Secondly  – “Force  MPPE Encrytion” – this will force your connecting client machines to use encryption.

Note: Forcing MPPE encryption is by no means public or private key encryption so if the attacker is smart enough they will still be able to play a man-in-the-middle role in a attack.

Server IP – this will be your external facing IP address/your internet address.

Client IP(s) – here you can use a single IP or a DHCP range.  For example for example 192.168.2.150,192.168.2.150-155.

CHAP Secrets – this will be your usernames and passwords that are allowed to VPN  into your netwrok – the format follows:
username *password* IE – joeblogs *password123*

Last note: the subnet you are connecting from will need to be different to the destination. IE You cannot connect from private 192.168.y.0 to 192.168.y.0 but you can 192.168.1.0 to 192.168.0.0

For the upcoming blog I will be looking at setting up your client end on Windows 7 and Android phone. Pretty neat solution if you’re needing a pptp vpn server setup in 5 minutes.

pptp vpn - ddwrt

Remote Access

A few questions that have been poping around the office for a long time is what is an open source remote access tool that will handle a domain/multi domain scenario.

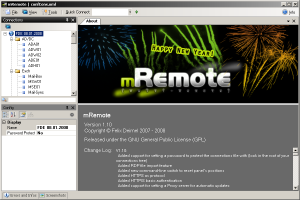
mRemote is an open source piece of software will do the majority of what you need  – rdp, vnc, telnet, ica, ssh,  and a few others that you dont use day to day.

When handling RDP sessions, mRemote is able to account for multi-domain setups whereby you can setup and propagate inheritance of your credentials and per connection setups that would otherwise waste time. On top of this, with the right priviliges you are able to download your list of server names that you will have in your Active Directory OUs.

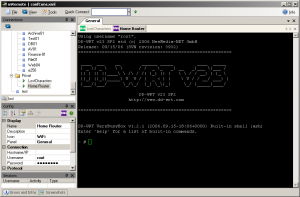
Furthermore, every serious network now-a-days will have telnet (your Cisco gear), ssh (ESX/VMware environment+Cisco) and mRemote is only too happy to oblidge.

Populated it will looks a little like this:

The current version is 1.50 and they continually release new versions that account for bug fixes a few new features. Please ignore the version on the screenshot, there arent any big gui changes between 1.10 and 1.50.